CyberPanel is a modern web hosting control panel powered by OpenLiteSpeed, designed for high performance, security, and ease of management.
In this guide, I’ll walk you through step-by-step instructions to install CyberPanel on Ubuntu 24.04, suitable for VPS or dedicated servers.
Prerequisites
Before starting, make sure you have:
- Ubuntu Server 24.04 LTS (fresh installation recommended)
- Root access (or sudo user)
- Minimum 2 GB RAM (4 GB recommended)
- At least 20 GB disk space
- Proper hostname and DNS (recommended)
⚠️ CyberPanel should be installed on a clean server. Avoid installing it on a system with existing web servers like Apache or Nginx.
Step 1: Update Your System
First, ensure your system is fully updated:
apt update && apt upgrade -yReboot if the kernel or core packages were updated:
rebootStep 2: Set Hostname (Recommended)
Set a fully qualified domain name (FQDN) for your server:
hostnamectl set-hostname server.example.comEdit /etc/hosts and ensure it includes your hostname:
nano /etc/hostsExample:
127.0.0.1   localhost
YOUR_SERVER_IP   server.example.com server
Step 3: Install CyberPanel
CyberPanel provides an official installation script. Run the following command as root:
sh <(curl -s https://cyberpanel.net/install.sh)You will be prompted with several installation options.
Recommended Choices
- Install CyberPanel:
1 - OpenLiteSpeed or LiteSpeed Enterprise:
1(OpenLiteSpeed – free) - Full installation:
Y - Remote MySQL:
N(unless required) - Set admin password:
Y - Install Memcached & Redis:
Y(recommended) - Install WatchDog:
Y
The installation process may take 10–20 minutes, depending on your server specs.
Step 4: Firewall Configuration
CyberPanel automatically configures essential ports, but ensure the following ports are allowed:
| Service | Port |
|---|---|
| CyberPanel UI | 8090 |
| OpenLiteSpeed | 80, 443 |
| FTP | 21 |
| SMTP | 25, 587 |
| POP3 | 110 |
| IMAP | 143 |
| DNS | 53 |
If you are using UFW:
ufw allow 8090
ufw allow 80
ufw allow 443
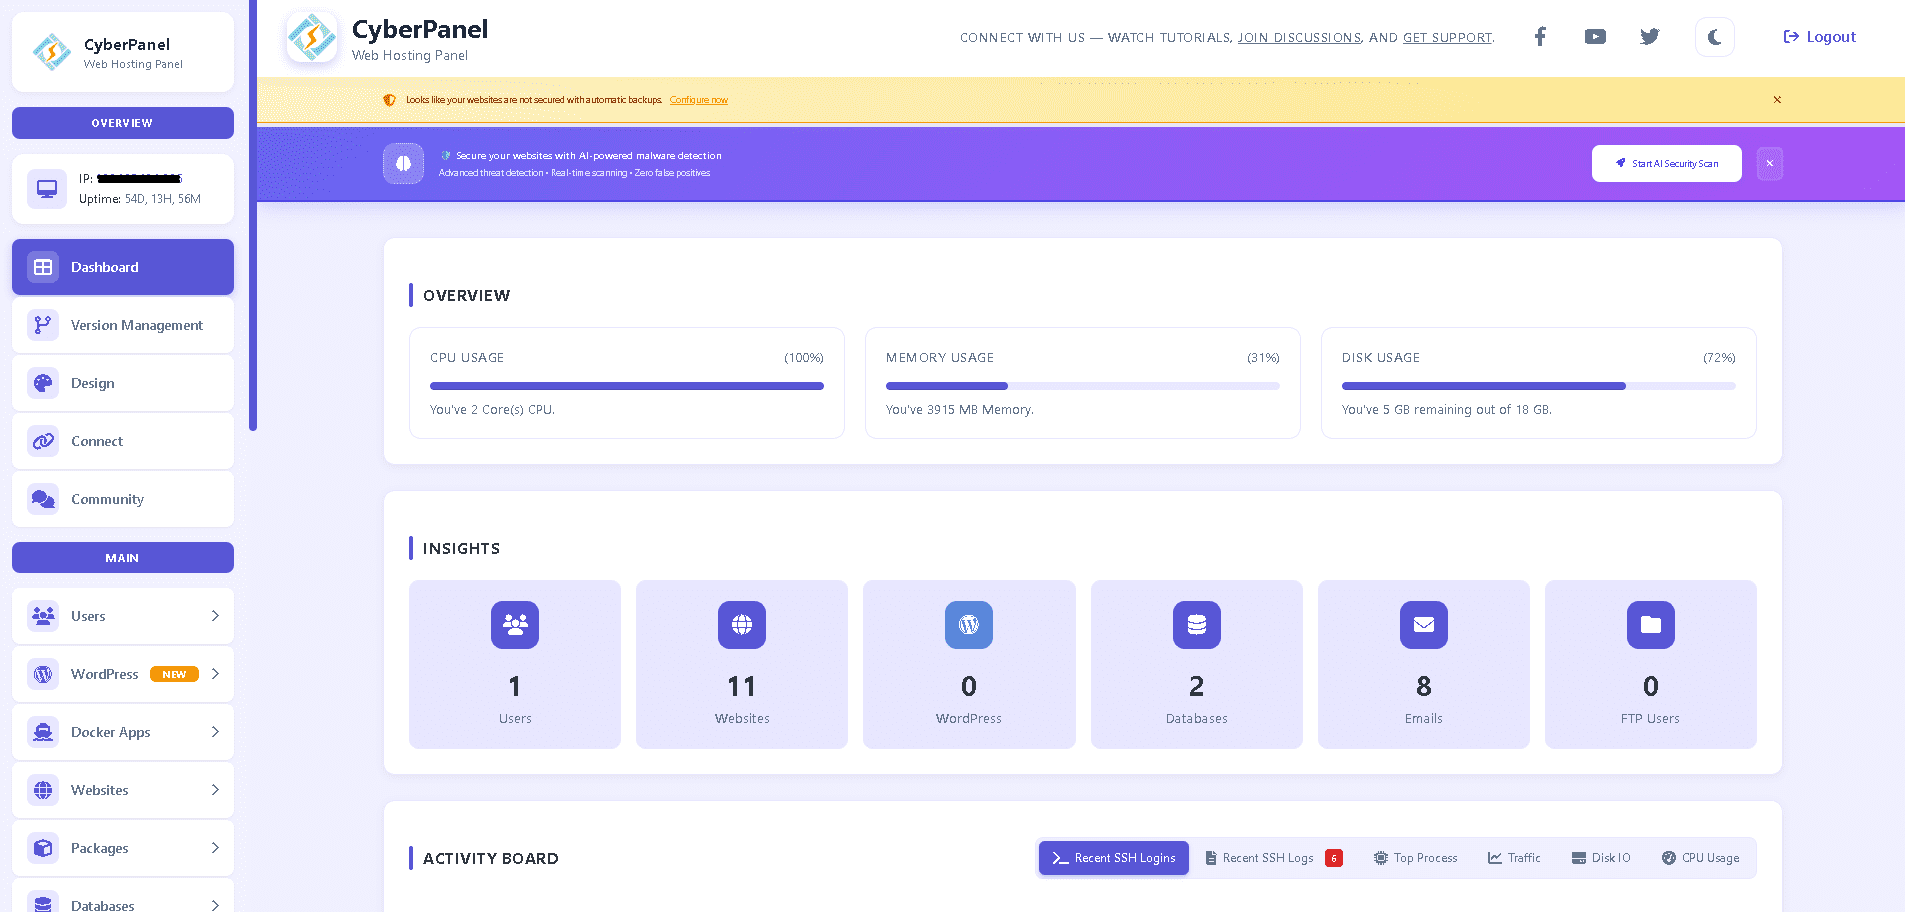
ufw reloadStep 5: Access CyberPanel Dashboard
Once installation is complete, you will see the login details.
Access the CyberPanel UI via browser:
https://YOUR_SERVER_IP:8090Default login:
- Username: admin
- Password: (the one you set during installation)
If you see a certificate warning, it’s normal. You can install a proper SSL later.
Step 6: Secure CyberPanel (Post-Install Tips)
After login, it’s strongly recommended to:
- Change the admin password (if not already done)
- Enable Two-Factor Authentication (2FA)
- Update CyberPanel from Version Management
- Configure automatic backups
- Install SSL for the panel using Let’s Encrypt
Common Issues & Troubleshooting
CyberPanel UI Not Accessible
Check if the service is running:
systemctl status lscpdRestart if needed:
systemctl restart lscpdPort 8090 Blocked
Verify firewall or cloud provider security group allows port 8090.
Conclusion
CyberPanel is a powerful and lightweight control panel, especially when paired with OpenLiteSpeed. Installing it on Ubuntu 24.04 is straightforward using the official installer, making it an excellent choice for hosting WordPress, PHP, and high-performance web applications.
If you manage VPS or dedicated servers regularly, CyberPanel can significantly simplify server and website management.
If you found this guide helpful, feel free to share it or check out more Linux and server administration tutorials on ferisetyawan.com.
Happy hosting 🚀